
Recordings
A recording provides the program as an MP4 and an MP3 audio version. The files are kept on the Director 4K’s internal storage.
Keep tracks for editing
With ISO tracks (separate sources), you get video and microphone recordings already synchronized with the show’s timeline. Continue editing in Premiere Pro or DaVinci Resolve without aligning the sources by hand.
Before recording, under Profiles → your profile → Outputs, enable the options you need:
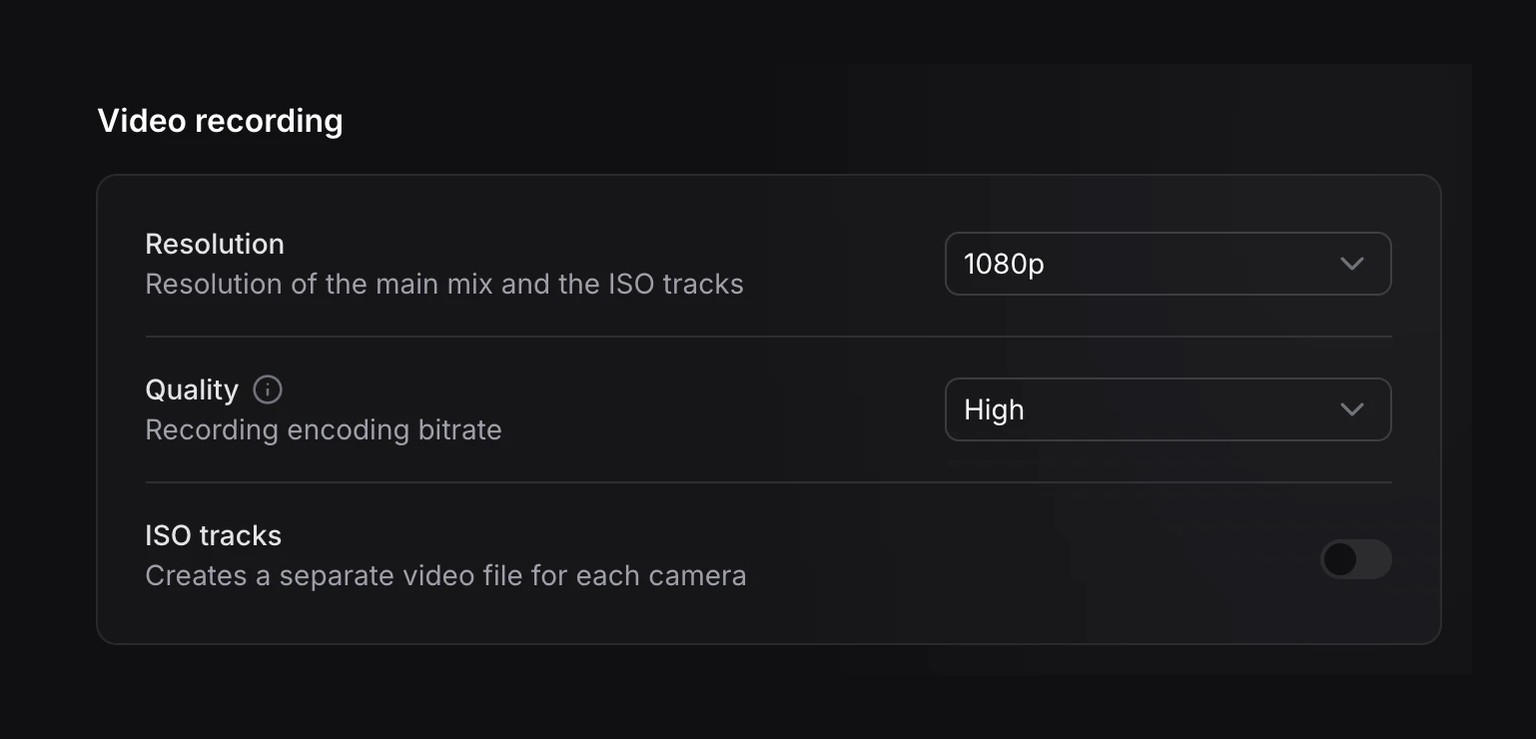
- Video recording → ISO tracks: one track per video source.
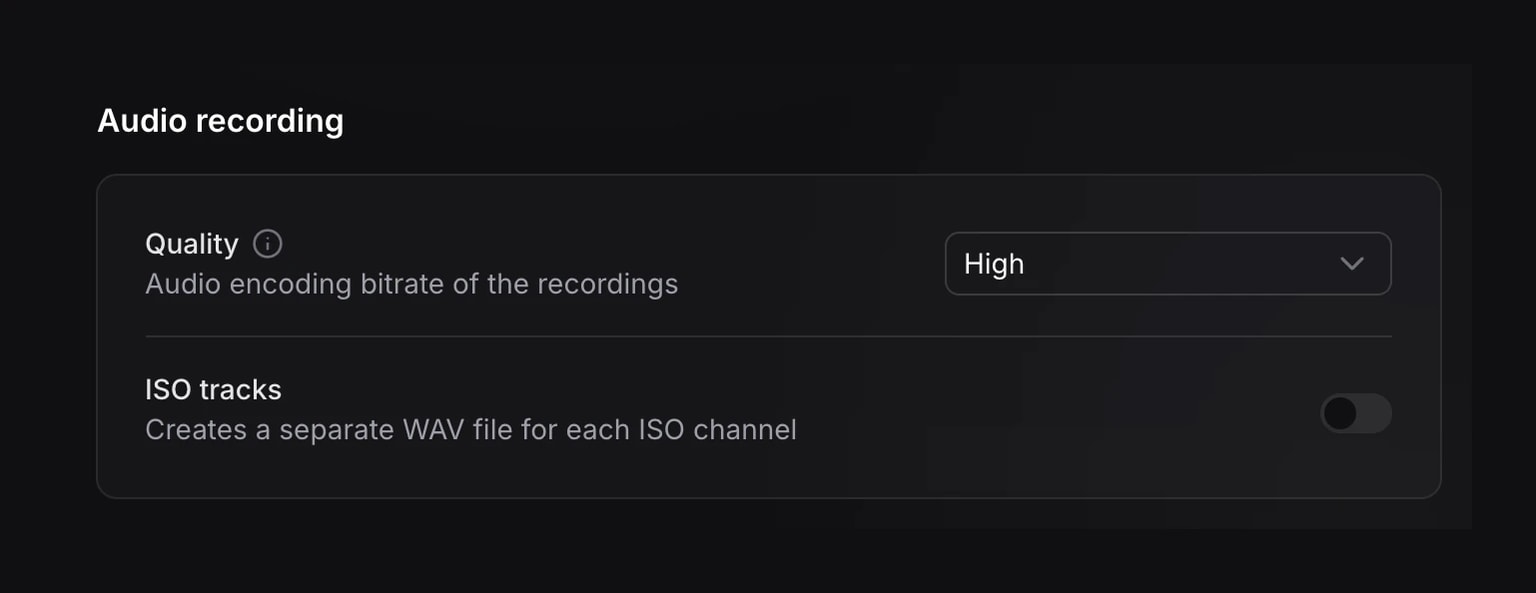
- Audio recording → ISO tracks: one WAV file per configured microphone.
Save the profile, then use it to start the session.
To continue editing, retrieve the FCP 7 XML along with the audio and video tracks. The XML references these media files: keep their names and folder structure intact.
Import the edit into your software:
- Premiere Pro: import an XML file. Import the XML directly, without converting it to FCPXML.
- DaVinci Resolve: import an XML timeline.
Choose recording options
These options are set in the profile and apply to future recordings.
Change resolution or quality
Under Video recording, Resolution applies to the program and separate video tracks: 1080p or 4K, depending on the options available on your Director 4K.
Quality sets the same video bitrate for the program and every ISO track:
| Quality | 1080p | 4K |
|---|---|---|
| Medium | 8 Mbit/s | 32 Mbit/s |
| High | 15 Mbit/s | 56 Mbit/s |
| Very high | 30 Mbit/s | 105 Mbit/s |
Under Audio recording, Quality sets the MP3 bitrate: 96, 128, 160, or 192 kbit/s. This setting does not affect WAV ISO tracks.
Find your files
Open Recordings and choose a recording. Use the All profiles filter to find recordings from a particular show.
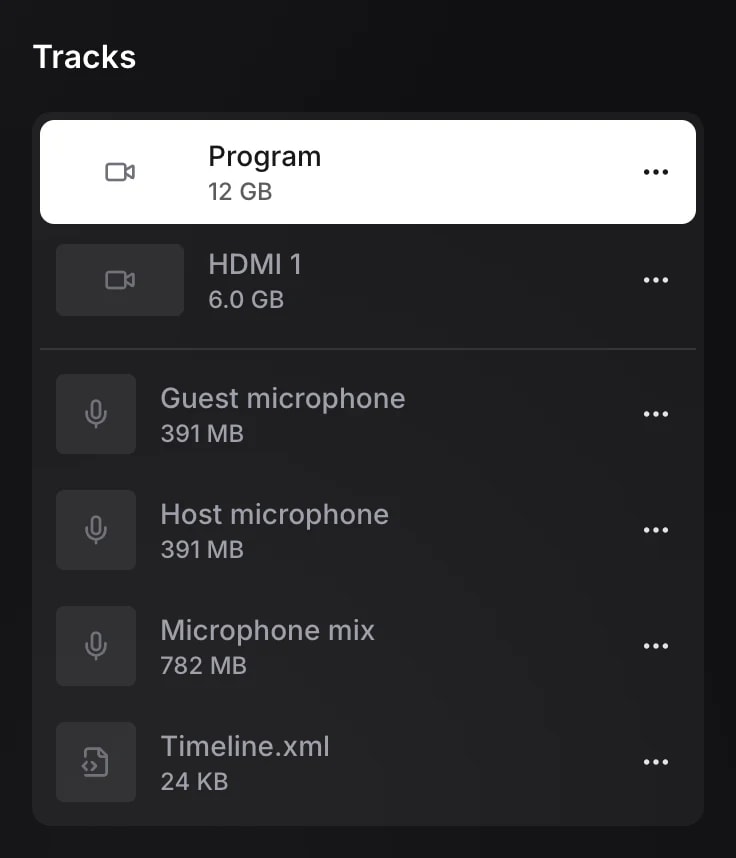
Under Tracks, the Program MP4 is your show’s video, with its camera changes and audio mix. The MP3 version contains only the sound.
Download with Miroir Remote
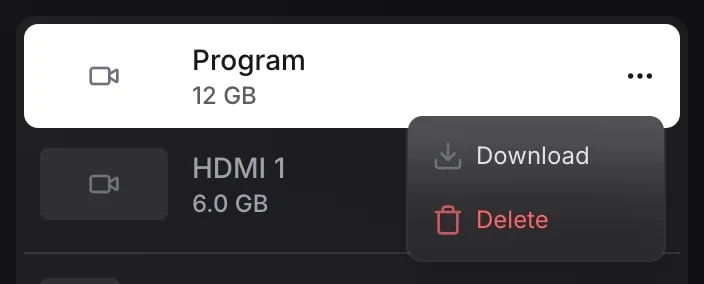
From a computer on the same network, open the Program MP4’s three-dot menu and choose Download. Each track’s menu also lets you download it separately. To retrieve everything, choose Download all from the recording’s menu.
Copy to an SSD
Connect an SSD to the Director 4K over USB.
 Menu
Menu Copy to SSD
Choose the drive, then the recordings to copy. Wait for the transfer to finish before disconnecting the SSD.
Copying keeps the originals on the Director 4K. Erase the original after copying, under Privacy, deletes them after a successful copy.
Automate uploads
To send future recordings automatically after each recording ends, set up a destination:
- Dropbox or Frame.io: sign in to your account and authorize access, then return to Miroir Remote.
- S3 storage: connect your bucket using the credentials provided by your storage provider.
- SFTP server: enter the server address, port and username. Enter the password or add the private key, then click Save.
Then choose the Destination folder with Browse. Files will upload automatically at the end of each recording.
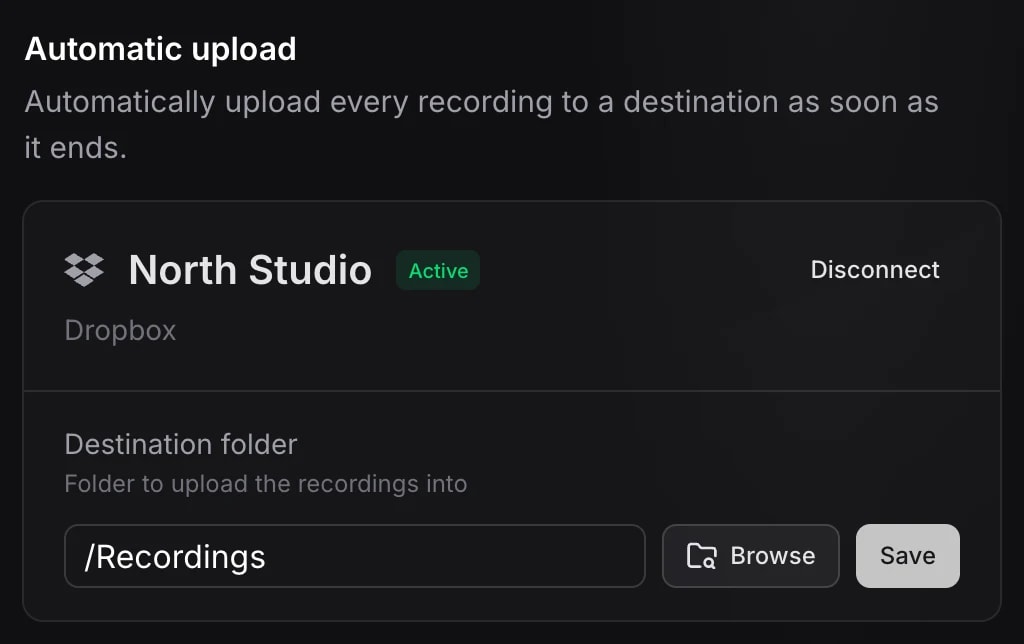
To exclude a show’s recordings from automatic uploads, enable Disable automatic upload of recordings here:
Track or retry an upload
Follow progress in Recordings. To start or retry an upload, choose Upload from the recording’s three-dot menu.
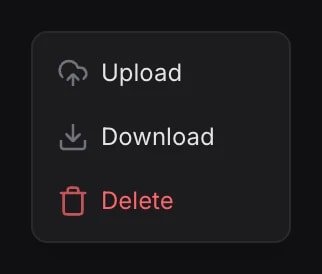
When a share link is available, the same menu offers Copy the link.
If the destination is no longer accessible, reconnect it in the automatic upload settings, then retry.
Free up storage
The indicator at the bottom of Miroir Remote shows used space and the capacity of the internal storage. After retrieving the files you want to keep, open a recording’s three-dot menu and choose Delete.
To delete several recordings, select them in Recordings, then use Delete in the selection controls. This removes the recordings and their files from the Director 4K.