
Cameras
Connect your cameras to the Director 4K, then link them to microphones so SmartSwitch can follow the conversation.
Connect your cameras
Many mirrorless cameras, camcorders and studio cameras work with the Director 4K. They need a clean HDMI output, which sends the picture without menus or information overlays. You can usually find this setting in the camera’s HDMI display options.
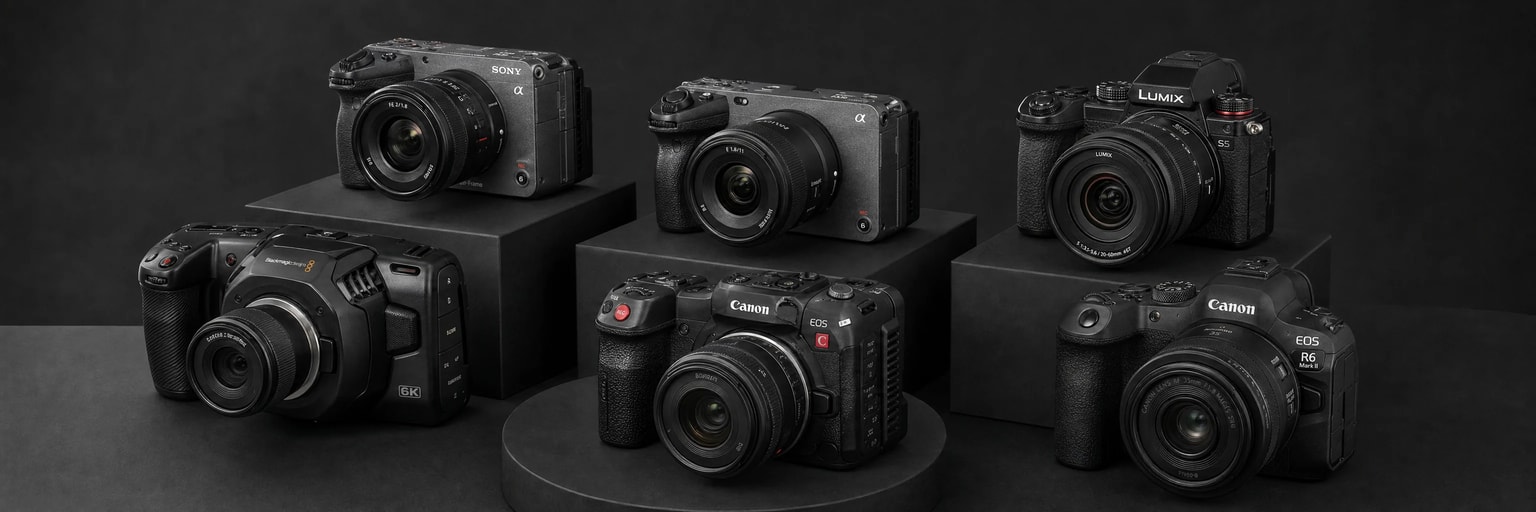
Connect each camera to an INPUT port on the back of the Director 4K.
Under Settings → Video, open the camera’s source and choose Camera as its type.
Configure SmartSwitch
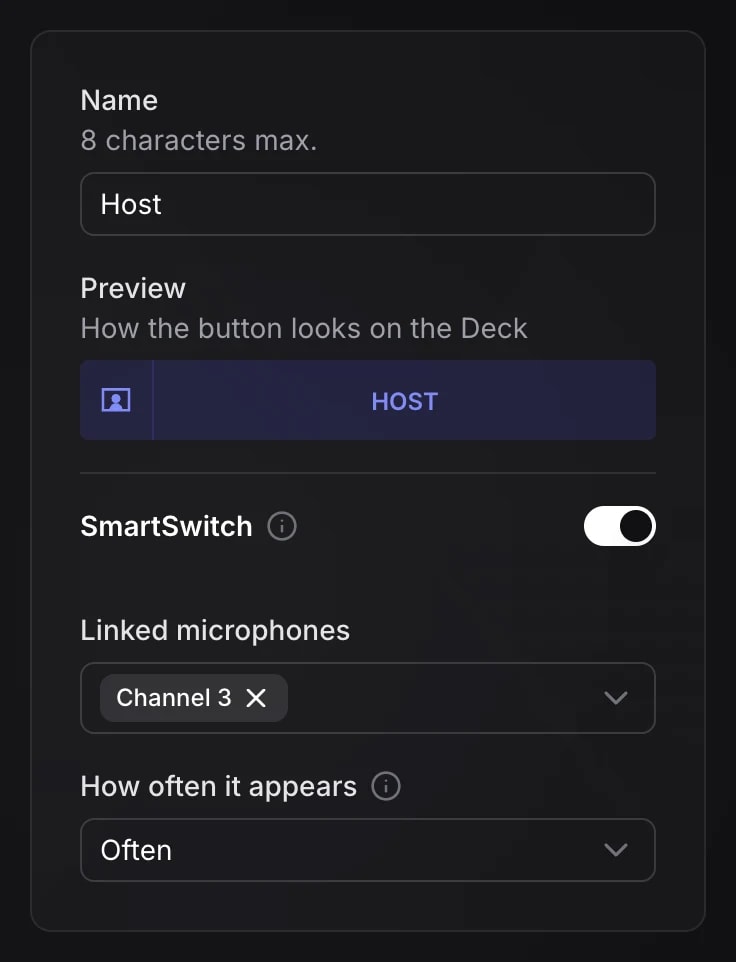
A shot is a camera view that SmartSwitch can choose during the show. In the camera’s settings, open the default shot and enable SmartSwitch.
Under Linked microphones, select the microphones of the people visible in the shot. SmartSwitch can then show that shot when one of them speaks.
SmartSwitch continuously optimizes three criteria: showing the people relevant to the conversation (current or recent speakers), limiting visual fatigue or boredom (rhythm), and respecting your preferences (shot weights). The result is more nuanced directing than a simple “voice follower”.
Use How often it appears to favor a shot when several can show the person speaking.
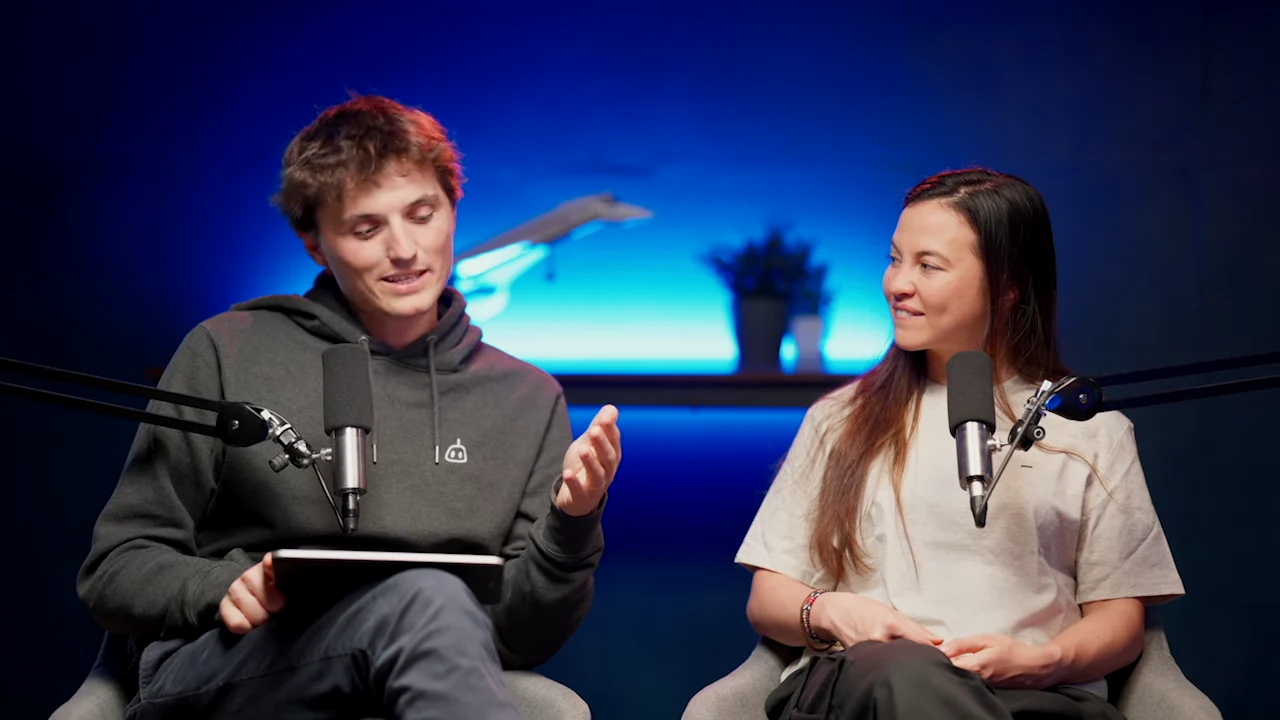
Start a session and speak into each microphone to see SmartSwitch choose a camera view.
Set the frame rate
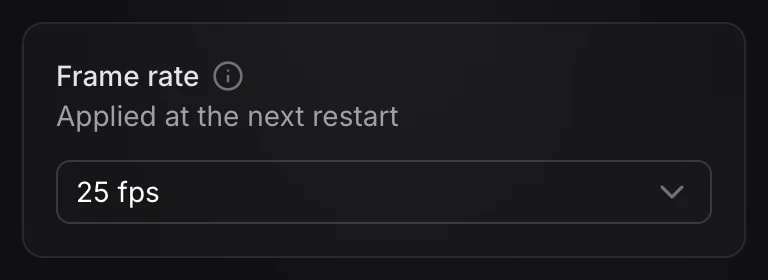
The frame rate, measured in frames per second (fps), sets the show’s video cadence. Prefer the same rate as your cameras’ HDMI output.
Power your cameras with their AC adapters, then plug the adapters into Zigbee smart plugs. The Director 4K can turn the plugs on when a session starts and off when it ends. Connect Zigbee plugs.