
Profiles, scenes and branding
A profile holds a show’s settings: scenes, branding, clips and recording options.
Prepare a profile
Open your show’s profile. To make a variation, use Duplicate in the three-dot menu in Profiles. You can also choose Create a profile.
Choose scenes
Under Scenes, enable the scenes you want on the Deck and disable the others, then save the profile. Default scene shows the cameras full screen and always remains available.
Customize the branding
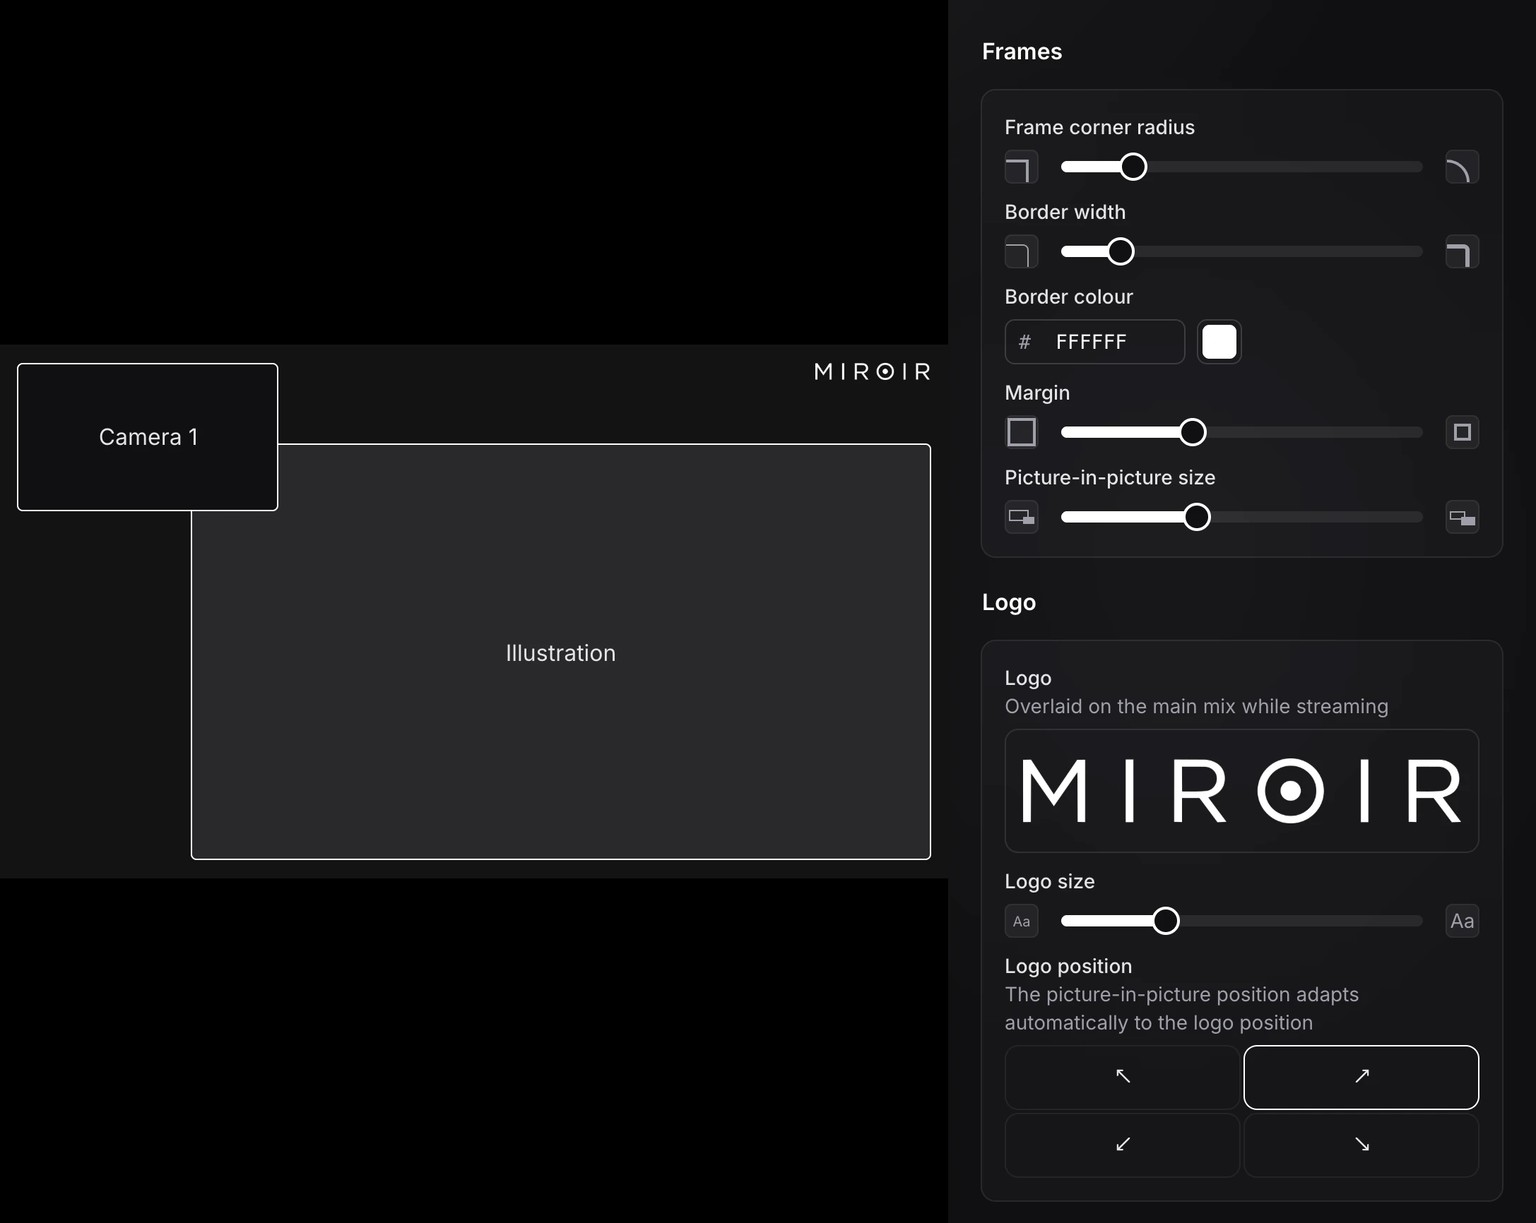
- Logo: upload your logo, then adjust Logo size and Logo position.
- Backgrounds: Background appears behind the frames; Standby screen is the visual used by the standby scene. Upload an image or video.
Add opening titles and clips
Add opening titles, video excerpts or audio jingles. Save the profile and wait for the Ready status. You can then play them from Live or the Deck.
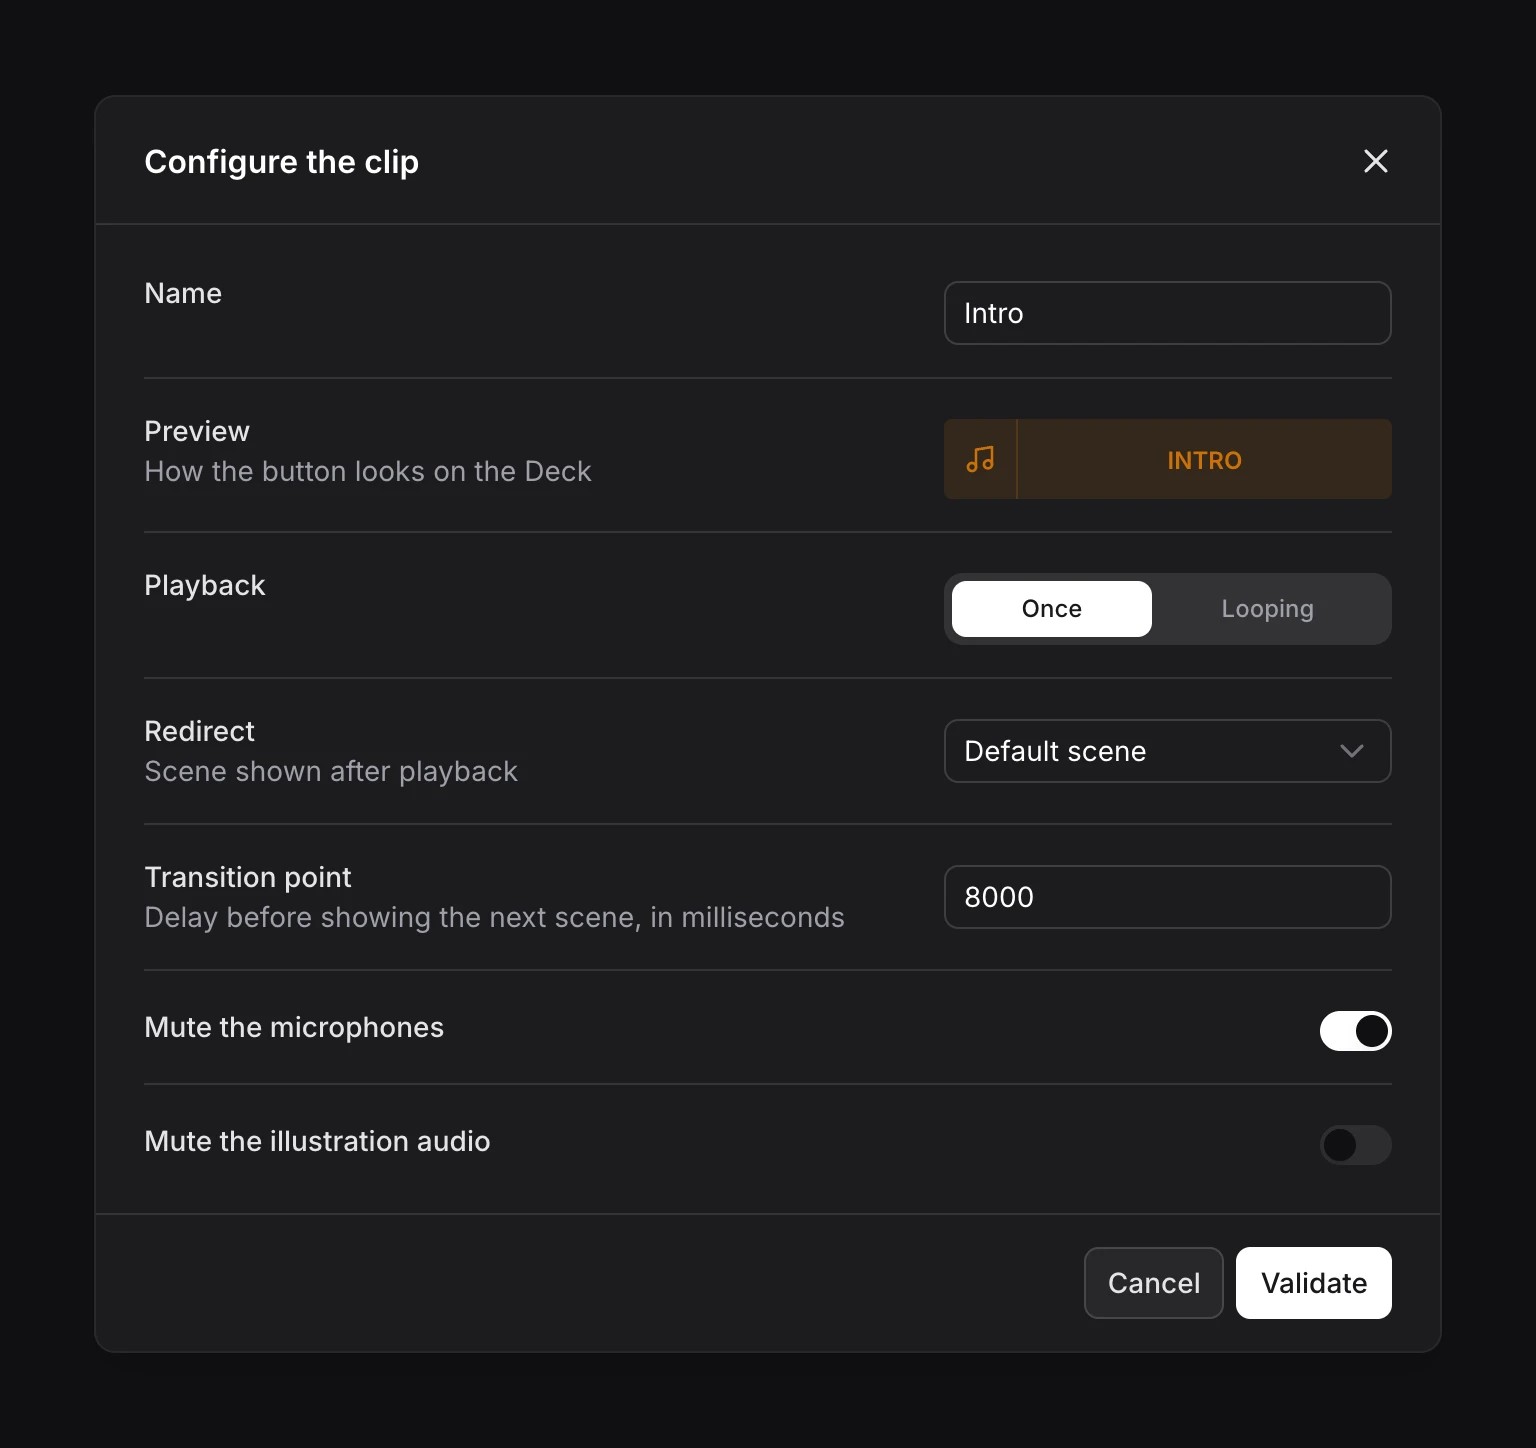
Drag clips to change their order. In a clip’s settings, choose Once or Looping playback.
Automate audio
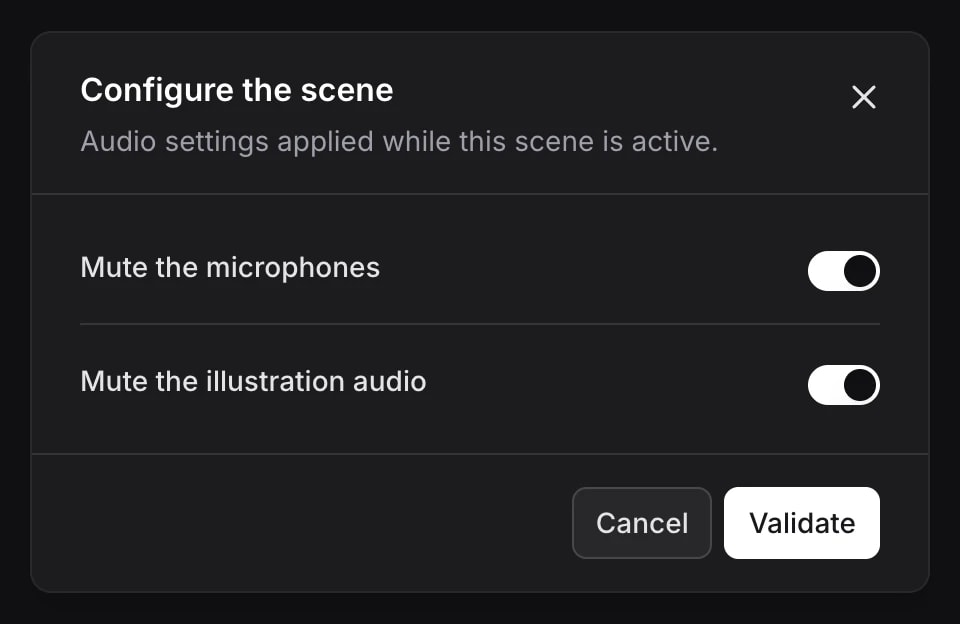
Choose in advance which sounds should be heard for each scene and clip. The Director 4K applies these settings automatically when you display the scene or play the clip. Starting an intro can mute the microphones while keeping its soundtrack audible.
The same controls are available in the settings for every scene and clip:
- Mute the microphones mutes studio voices and remote guests in the program.
- Mute the illustration audio mutes the presentation computer and clips in the program.
When the clip ends, the current scene’s audio settings apply again. If that scene has microphones unmuted, voices return automatically.
Automate transitions
Schedule a scene change during a clip. For a stinger transition, trigger the change when the animation covers the frame.
In the clip’s settings:
- Choose Once as the playback mode.
- Under Redirect, select the scene to show, such as Default scene for full-screen cameras.
- Set the Transition point in milliseconds: 8000 changes the scene eight seconds after the clip starts.
Other show settings
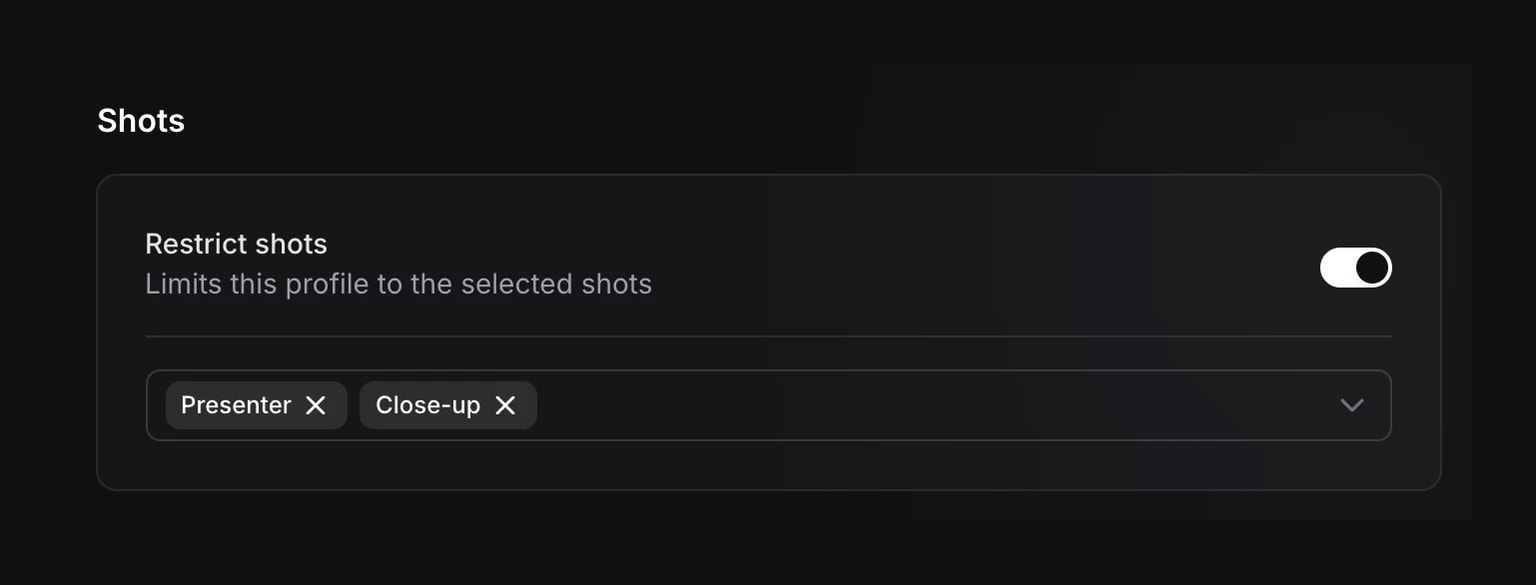
Shots are the camera views configured in SmartSwitch settings. Enable Restrict shots, then keep the shots that match the people taking part. This selection applies to both SmartSwitch and manual controls.
- Recording options: change quality or keep separate tracks before recording.
- Live streaming: choose the show’s destination.
- Lighting mood: apply this show’s mood automatically when the session starts.
- Automatic upload: exclude this show from the studio’s uploads.
- Shared profiles: make a show available to your team.