
Getting started
The Director 4K receives your cameras and audio, then switches camera views as people speak.
Connect the Director
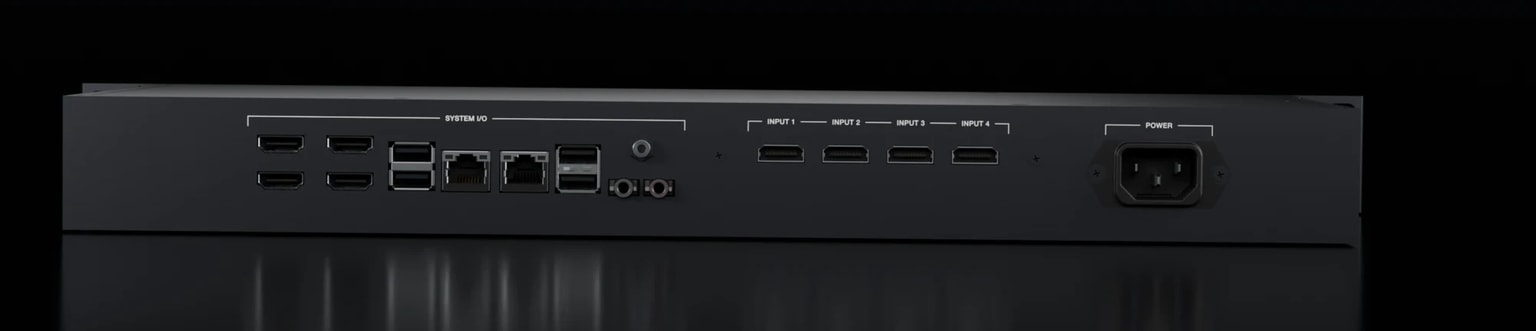
Connect power and Ethernet. Connect cameras to the INPUT ports. The SYSTEM I/O section contains USB, network and monitoring outputs.
Connect the Deck and monitoring display
Connect a 15-key Stream Deck to the Director 4K over USB. Connect your monitoring display to the first video output in SYSTEM I/O.
A monitor or TV with an HDMI or DisplayPort input will work. Audio is embedded in the video signal.
To configure a stage screen or a program feed, see Video outputs.
Navigate with the Deck
Menus you open with the Deck appear on your monitoring display. Use the Deck’s keys to navigate and select an option.
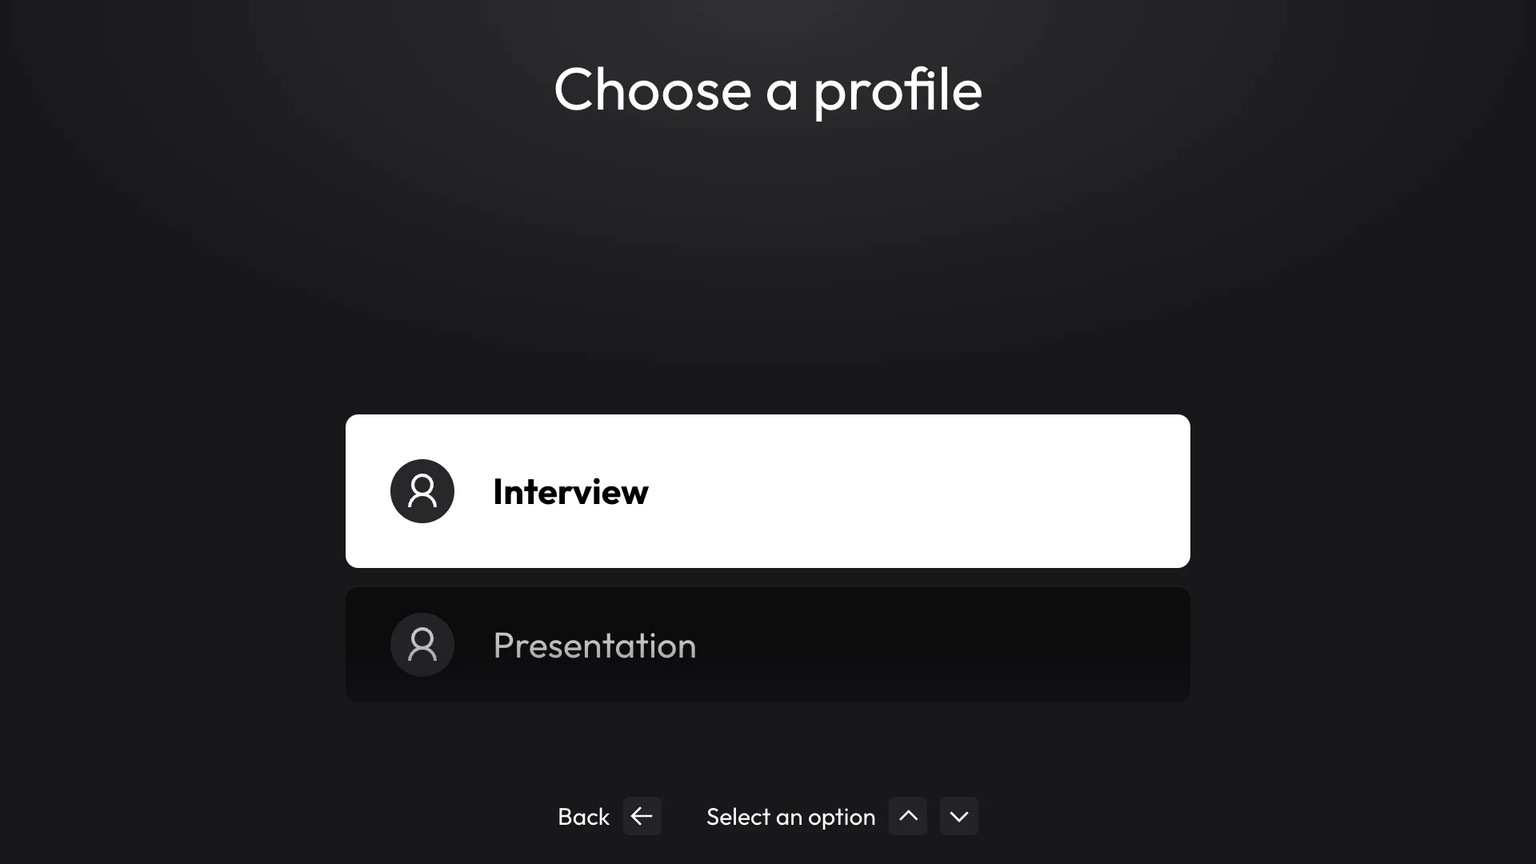
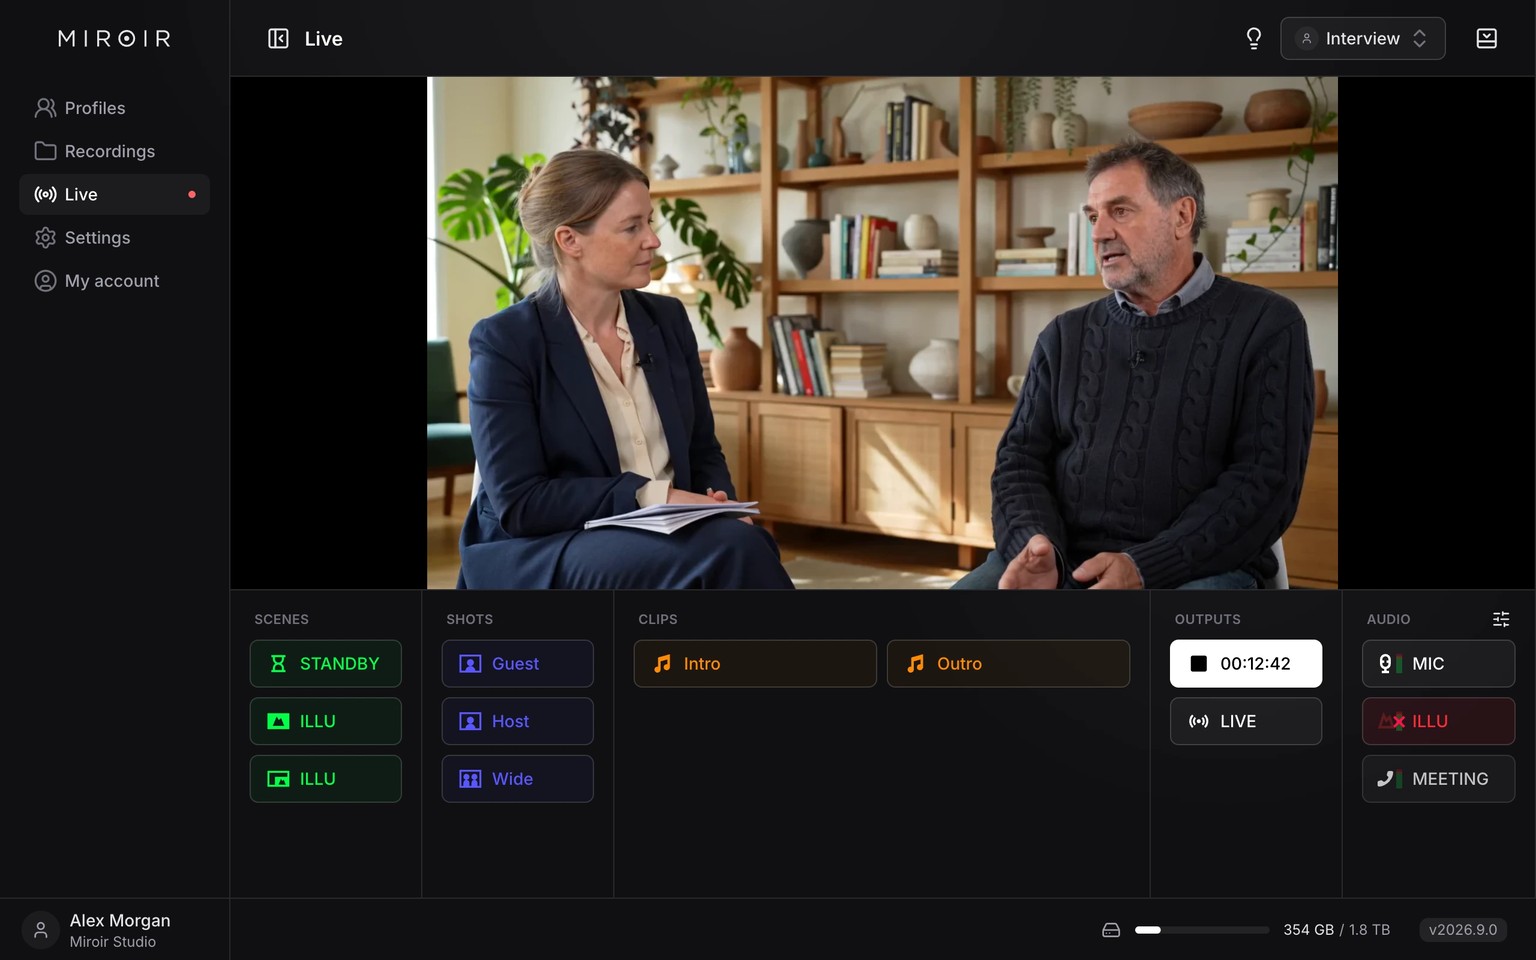
You can also operate the show from Live in Miroir Remote.
Open Miroir Remote
Download Miroir Remote on a computer connected to the same network.
Select your studio in the app.
You can also open miroir-studio.local in your browser.
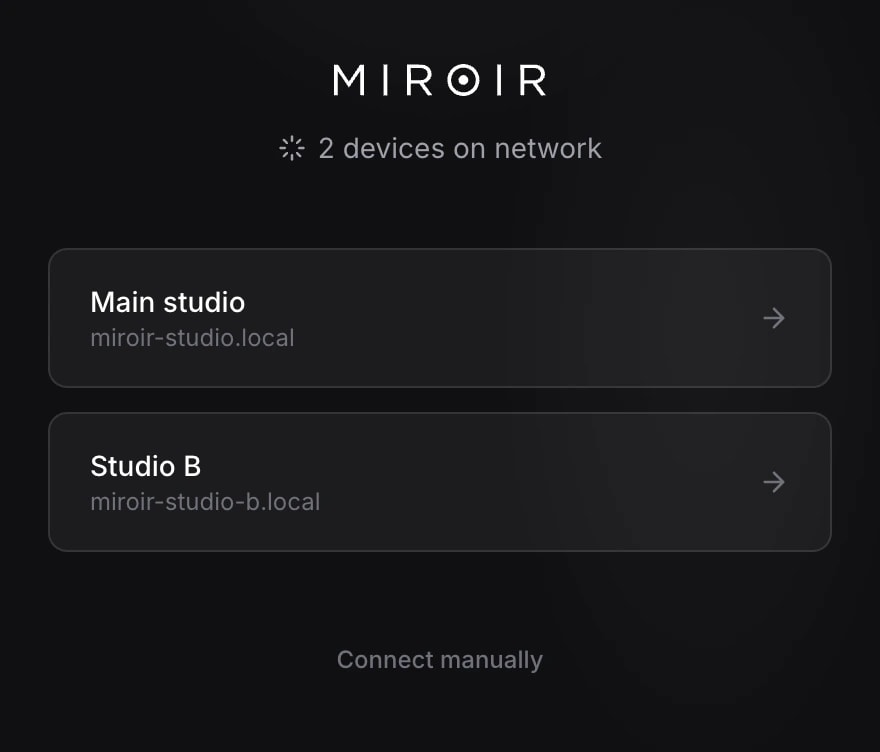
Check that your computer and the Director 4K are on the same network. Some networks prevent studio discovery over mDNS. In that case, try the IP address your router assigned to the Director 4K.
If you changed the studio’s hostname, use that name followed by .local. You can find it here:
Find your way around
Use Settings to configure equipment. Prepare shows in Profiles, control the show in Live and find your files in Recordings.
Prepare your first try
- Set up audio: connect your audio device and configure the microphone mix.
- Set up cameras and SmartSwitch: link each camera view to the microphones of the people it shows.
Then start a session and speak into each microphone to see SmartSwitch follow the conversation. Make a short recording and retrieve the result.