
DMX lighting
DMX lets you adjust your lights from Miroir Remote. Each setting, such as brightness or color, uses one or more DMX channels.
Connect the lights to the network
Connect the node to the same network as the Director 4K. Using DMX cables, connect the node to the first light, then daisy-chain the lights and fit a terminator to the last light’s output.
The Eurolite DXT PoE Art-Net Node I can be powered over USB-C or through the Ethernet cable using PoE.
In Miroir Remote, check that the gateway shows Connected.
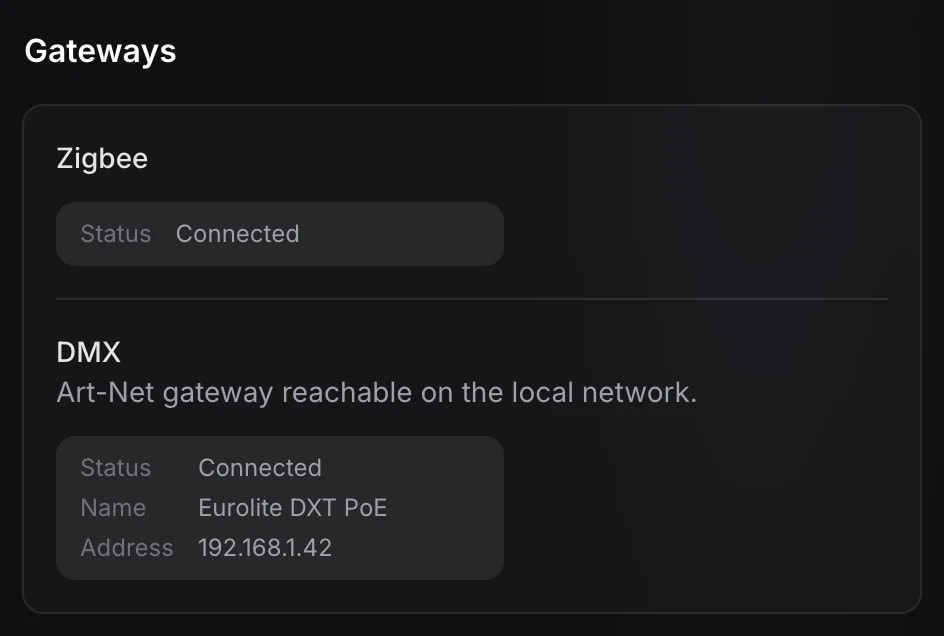
Set the same universe on the node and in Miroir Remote. A universe contains 512 DMX addresses.
Plan DMX addresses
Each fixture mode uses a specific number of consecutive addresses. The mode and address chosen in Miroir Remote must match those set on the fixture.
For example, consider three lights in a 6-channel mode on universe 1:
| Light | Start address | Addresses used |
|---|---|---|
| Host | 1 | 1 to 6 |
| Guest | 7 | 7 to 12 |
| Backlight | 13 | 13 to 18 |
Next address: start address + channel count. To control lights separately, their address ranges must not overlap. If two identical lights should respond together, give them the same address on the fixtures and add a single configuration in Miroir Remote.
Add the lights
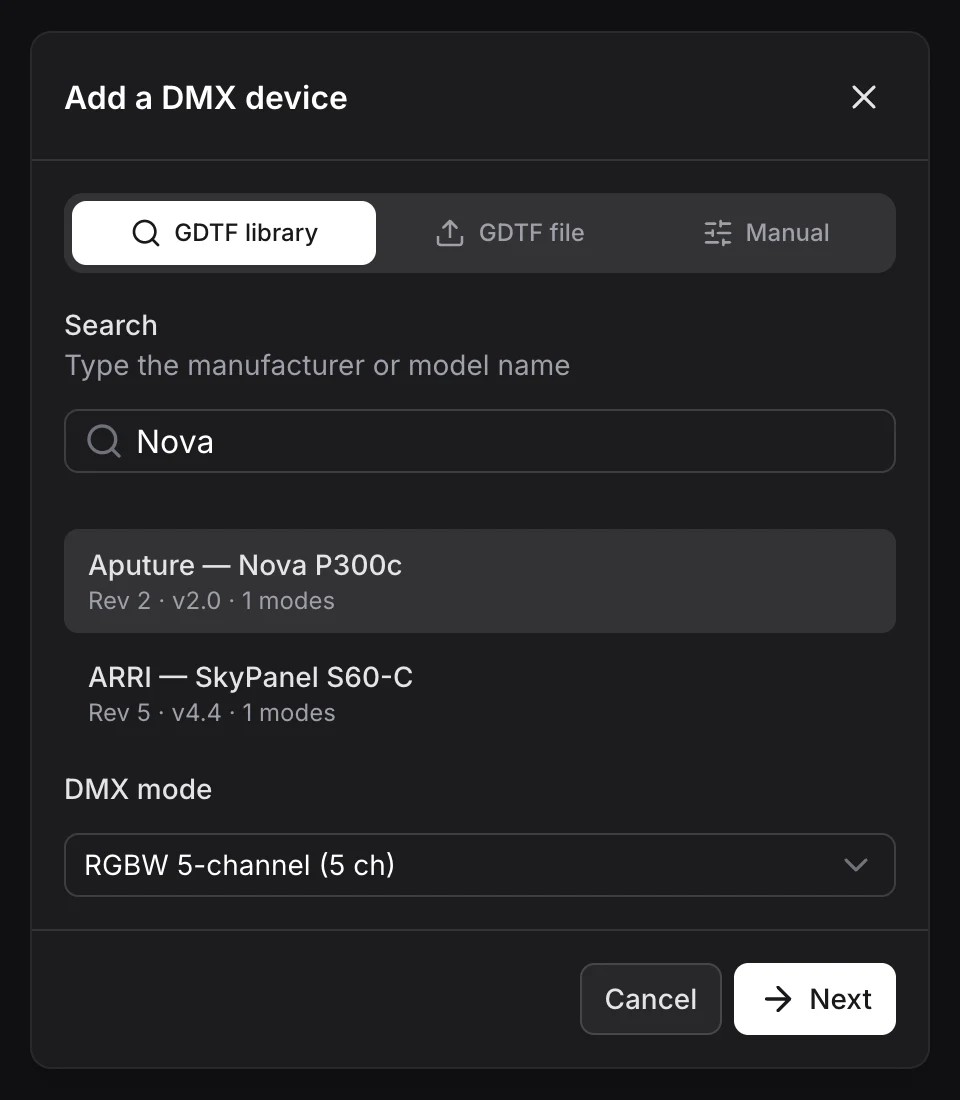
The GDTF library contains configurations for many light fixture models.
- In Search, enter the manufacturer or model.
- Select the result that exactly matches your fixture.
- Under DMX mode, choose the mode set on the fixture, then click Next.
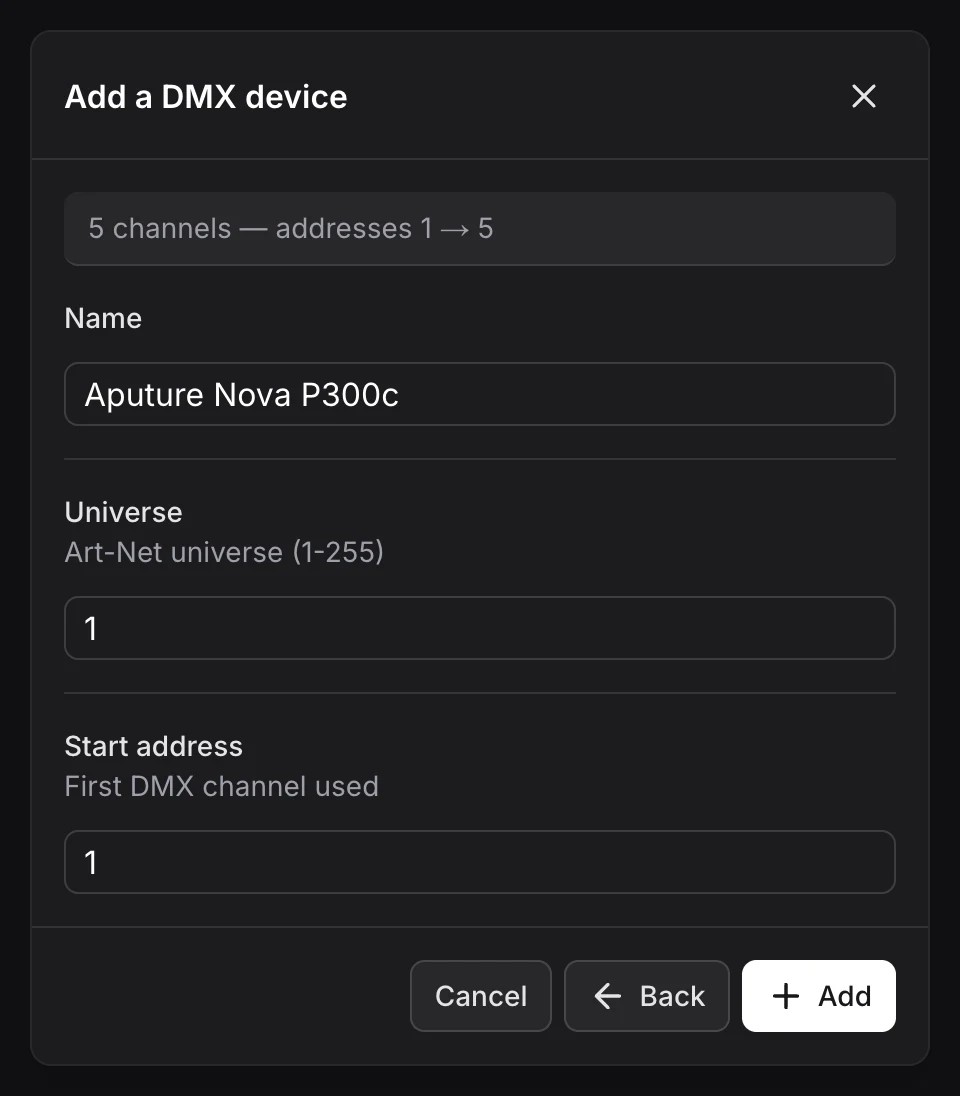
- Enter its Name, Universe and Start address.
- Click Add.
Get the manufacturer’s .gdtf file.
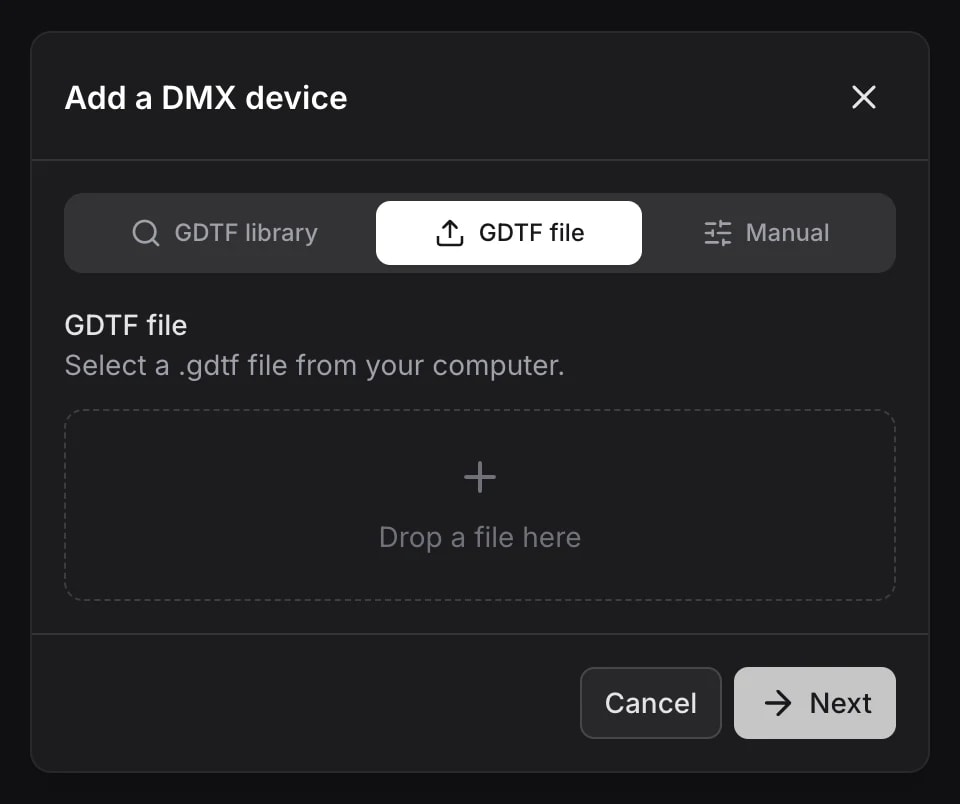
Open GDTF file, select the file, then choose the DMX mode. Click Next, enter the name, universe and start address, then click Add.
Use the DMX channel table in the fixture’s manual. Under Manual, add channels with their Label, Type, Width and Detail.
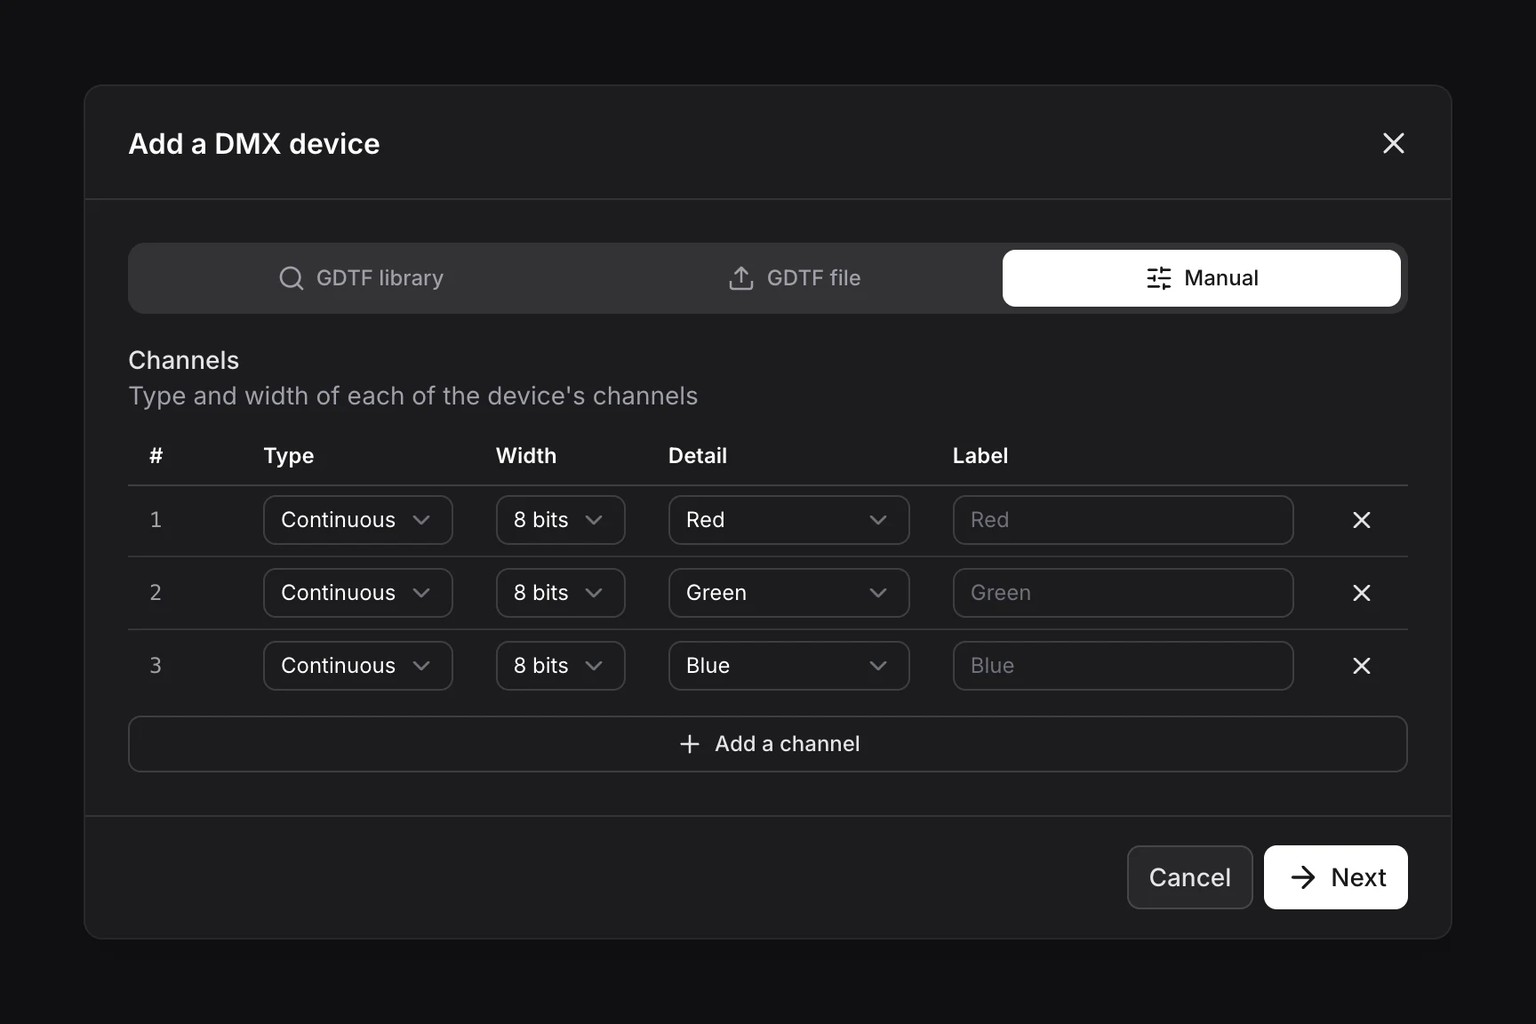
Use Continuous for a gradually adjustable channel, such as a dimmer. Choose Red, Green, Blue or White under Detail for the corresponding color channels. Use Raw to set a channel’s value directly. Reserved represents an occupied channel that is not controlled.
Width determines how many addresses are used: 8 bits = 1 address, 16 bits = 2, 24 bits = 3. Follow the manual, including its fine-control channels.
Click Next, enter the device’s name, universe and start address, then click Add.
To save these settings and recall them during a session, create a lighting mood.